Select the registration type and fill in all the required fields:

Registration occurs automatically, you receive confirmation of registration by email.
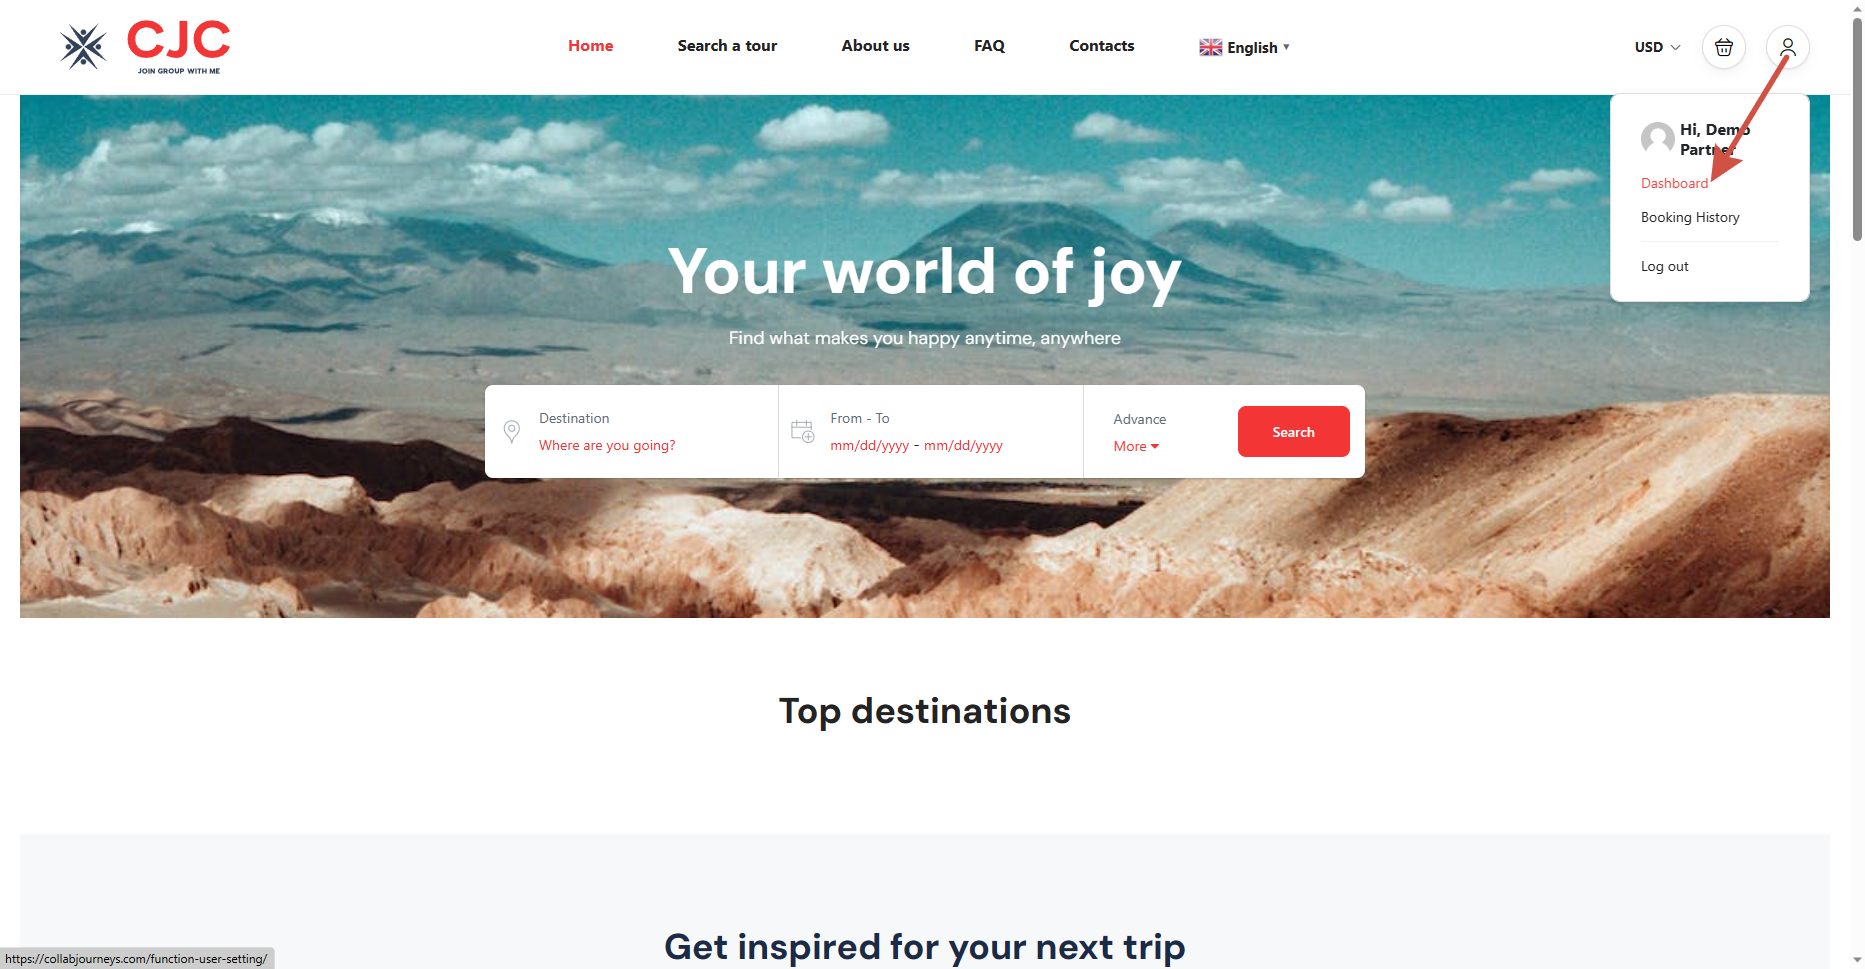
Your account need to register a membership package to continue using (click to register):

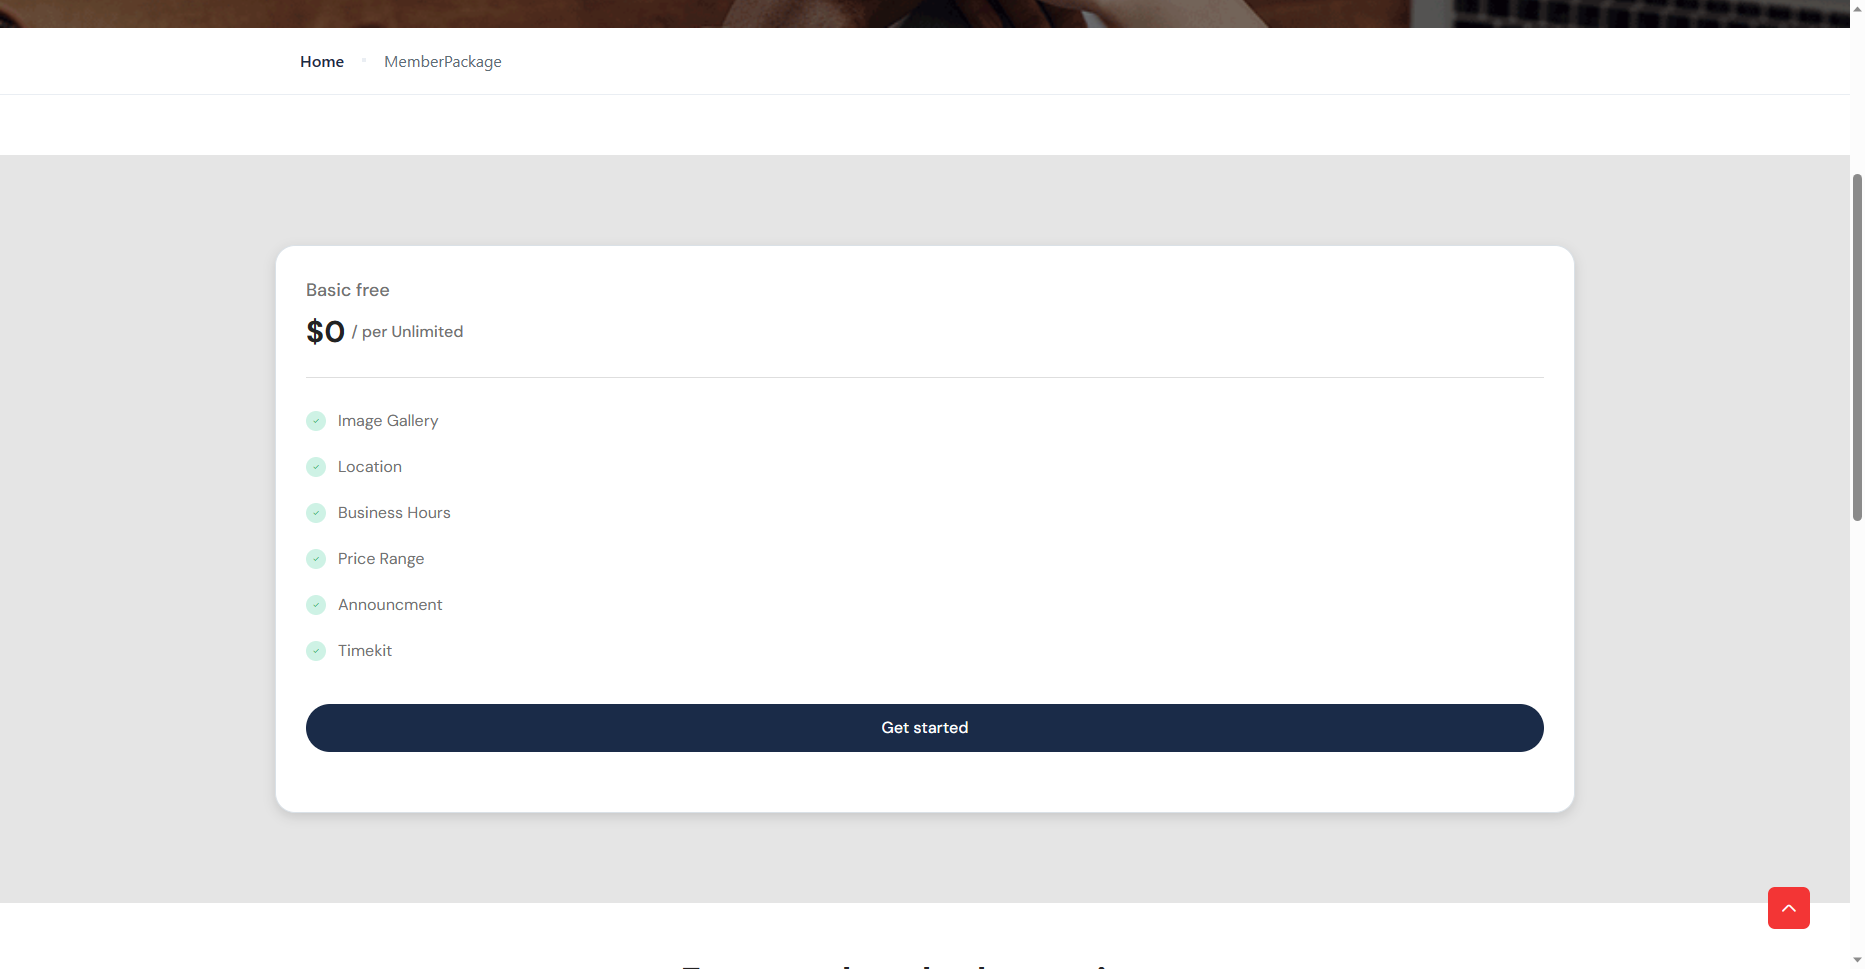
Choose the only currently available completely free tariff for partners
Add the required information, check the conditions, submit the form.
At this stage, the administration checks your data, after confirmation you will receive a letter by email.
After you’ll receive a confirmation e-mail, please go to the “Verifications” section and fill out all the required fields. If necessary, we will contact you for additional information.

Fill in all the data (please note that uploading photo documents is also mandatory) and click “Confirm” at the bottom of the page.
After verification by the site administration, your status will change to “Verified”

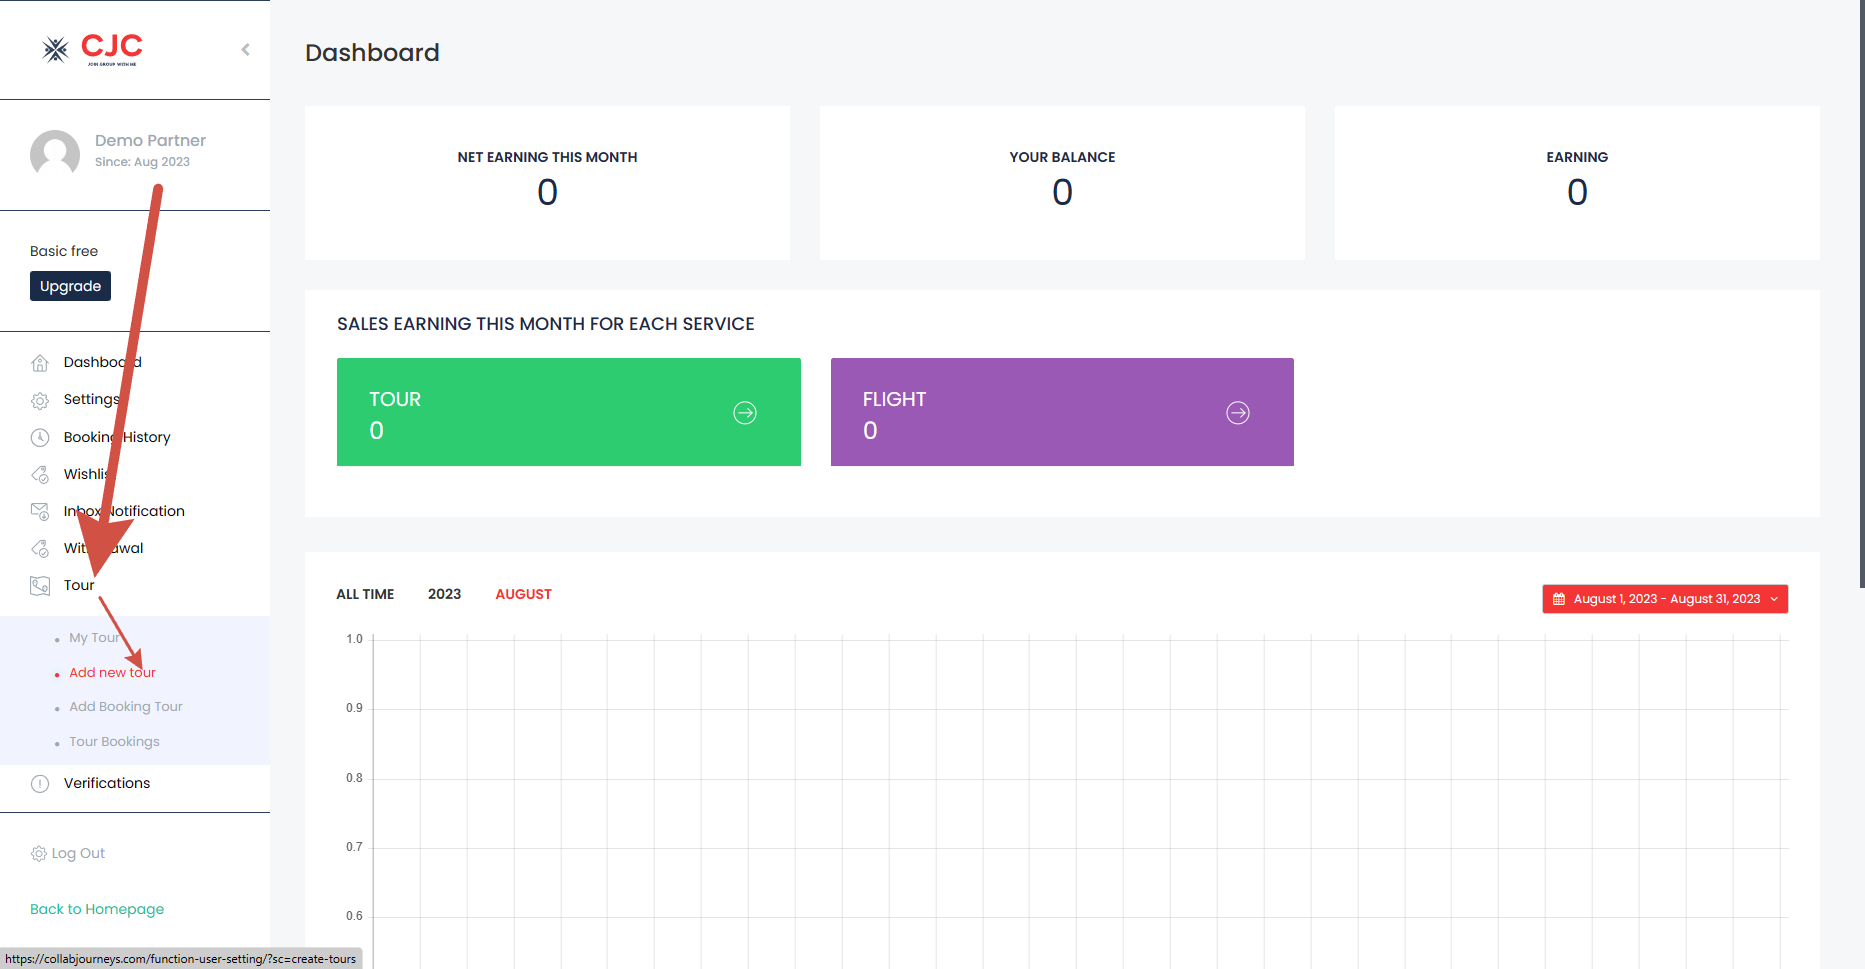
Go to the tours section and select Add new tour

Choose the Tour Type to Specific Date or Daily Activity options. If you selected the ‘Specific Date’ tour, you need to set the price in the ‘Availability’ tab (required) and you can choose the Group Day options
Set the Duration of the tour which is the total time of the tour on a days or hours
Set the Minimum days to book before departure which means how many days you need to make a reservation before joining this tour
Enter the Min of people for the tour
Enter the Max of people for the tour
Enter the information about Penalties you apply for cancellation
Write about the tour information which is included in the Tour Included or is excluded in the Tour Excluded
Show up the best part of the tour on Tour Highlight
You can also fill out the fields Tour FAQ (frequently asked questions) and Tour Program (tour schedule by day).

Option 1: Select to Show price by person
Enter the Adult Price for this tour
Set up a discount by number of adults booking at Fields list discount by adult number booking
Enter the Child Price for this tour
Set up a discount by number of children booking at Fields list discount by children number booking
Select the type of discount by number of adults to percentage or fixed value on Type of discount by people
Set the Type Calculator of Discount by people to person or group of person which are total people joining the tour
Enter the Infant Price for this tour
Choose the Disable Adult Booking means hiding the number of adults in the booking form
On – Not hiding the number of adult booking.
Off- Hide the number of adult booking
Choose the Disable Children Booking that means hiding the number of children in thebooking form
On – Not hiding the number of children booking
Off- Hide the number of children booking
Choose the Disable Infant Booking that means hiding the number of infants in the booking form
On – Not hiding the number of infant bookings.
Off- Hide the number of infant booking
Option 2: Select to show price by fixed amount value
No matter how many people join the tour, enter the Base Price of this tour
Choose the Disable “Adult Name Required “
On – Not Allowing the Adult Name Required.
Off- Allow the Adult Name Required
Choose the Disable “Children Name Required “
On – Not allowing the Children Name Required.
Off- Allow the Children Name Required
Choose the Disable “Infant Name Required “
On – Not allowing the Infant Name Required.
Off- Allow the Infant Name Required
Option 3: Select to show price by fixed departure
Choose the dates of a tour like 01/01/2024 to 15/01/2024
Enter the Child Price for this tour
Enter the Adult Price for this tour
Enter the Infant Price for this tour
Also you can
Enable or Disable “Adult Name Required“, “Children Name Required“, “Infant Name Required“
Select the date range of the calendar. to change the adult and children prices on the Calendar
When complete, click Update to finish